By Carolyn Owen
Listen…
Just because I work at Solo Stove does not mean I perfected the fire game on my first try. Early in my time at Solo Stove, I threw my Bonfire into the trunk of my car and headed over to my parents’ house for a cookout my dad was hosting. I thought I’d be the hero of the party and light a smokeless fire for everyone to gather around. The problem? My dad’s fire starters were damp from being left in a storm and his firewood was way too long to fit in my Bonfire– the logs would’ve been perfect for a fire in a Yukon. After raiding the laundry room and making some new starters out of dryer lint, I was able to get my fire lit.
But as soon as the fire had caught, I realized the logs needed to burn down for a while in order to allow them to fit inside the burn chamber and activate a smokeless secondary burn. After much trial and error (with several sets of spectating eyes), I was able to break the logs down into properly sized pieces and get a beautiful smokeless fire.
If I’d had all the proper tools at my disposal, this process would’ve been a snap. When the Solo Stove team lights fires for work events, it’s honestly astounding to me how easy it is to get a raging smokeless flame. And yes– I continue to be mesmerized by it every single time.
While it’s true that Solo Stove Fire Pits were designed to be easy to use and even easier to enjoy, fire itself is an element that requires some mastery. Read on to learn quick fixes for a smoky fire, and welcome your title of fire master very very soon:
Fuel Up and Heat Up
Before starting a fire, you need to make sure your fuel is up to smokeless standards. Check out our Firewood Guide to learn the difference between hardwoods and softwoods, and learn what not to burn. As a general rule, hardwoods will be the best option when fueling your fire, but we see our very own Aromatic Juniper as an exception. These logs burn hot, and give off a sweet scent that makes me think of an idyllic life of tiny cabin living, somewhere off the beaten path in the rural Colorado forest. I’m being serious, it smells that good. Try some out, you won’t regret it.
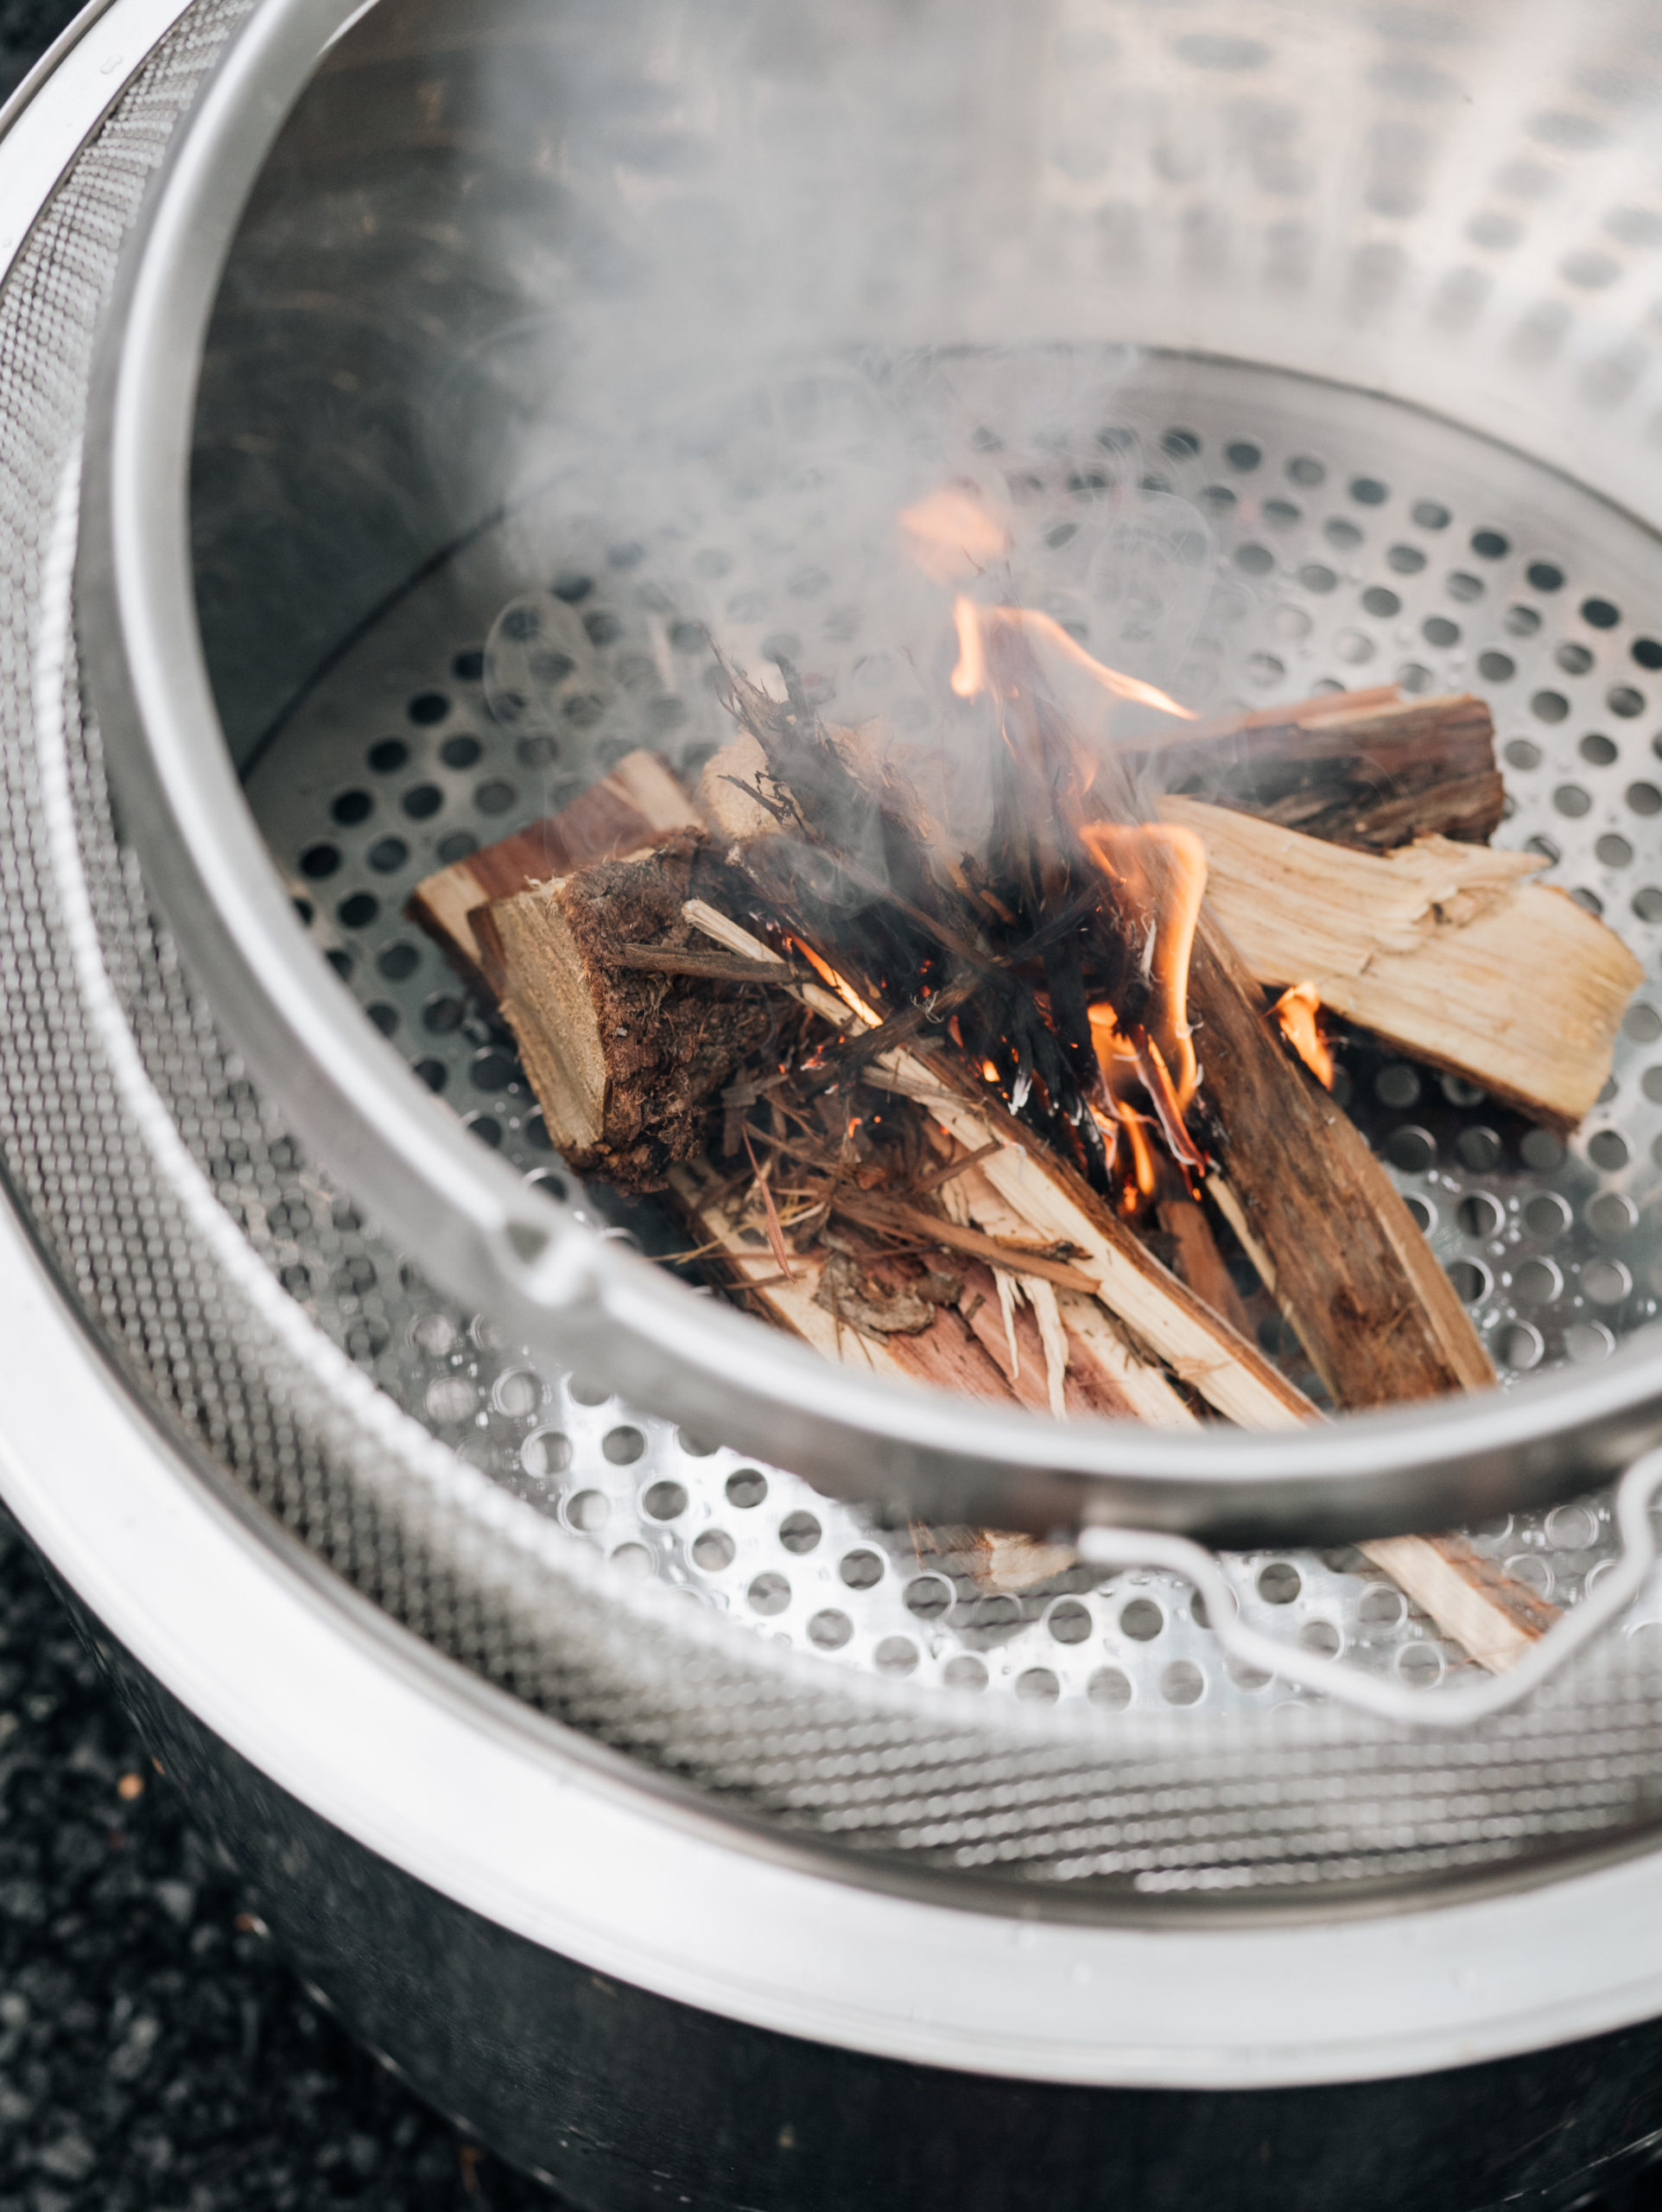
Start small with kindling, then add some initial logs. Once your logs are lit and a significant flame has caught, move them to the edges of your fire pit and add smaller logs, along with some chunk wood if you have it, into any gaps. You’ll want a fire that’s as hot as possible to make sure any lingering smoke is burnt up. Read our blog, “How To Make Your Fire Extra Hot” to get these tips while they’re hot (See what I did there?).
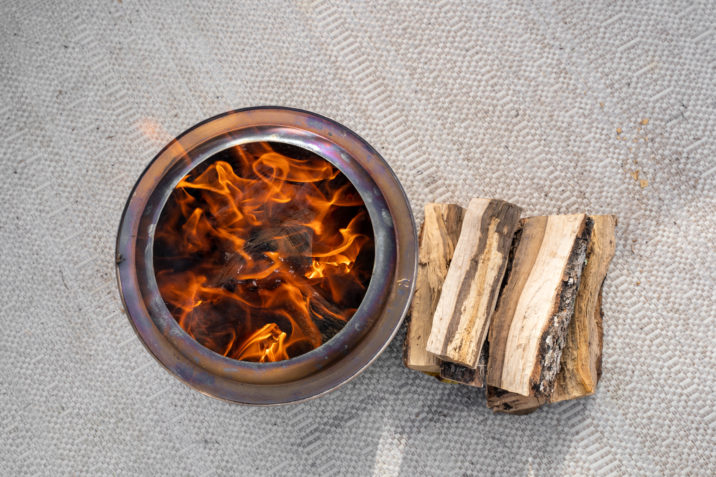
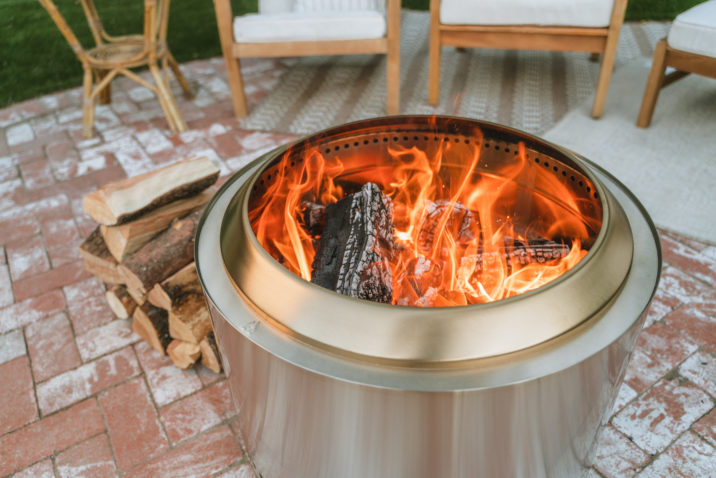
When sourcing our firewood, we had to be very specific about how long each log would be. Solo Stove Firewood is custom cut to fit inside any of our fire pits, from Ranger to Yukon. They range from 10-12” long, and are 3-6” wide, making them a perfect fit for your fire pit. Now, that’s great and all, but why does it matter so much? The answer is simple.
To promote optimal airflow, your fuel needs to be packed below your fire pit’s secondary burn holes. Just remember: if your logs are sticking out, smoke will be present. That being said, it doesn’t hurt to fill the entire burn chamber with fuel to create as much heat as possible. Read on to learn more about how important airflow is while creating a smokeless fire:
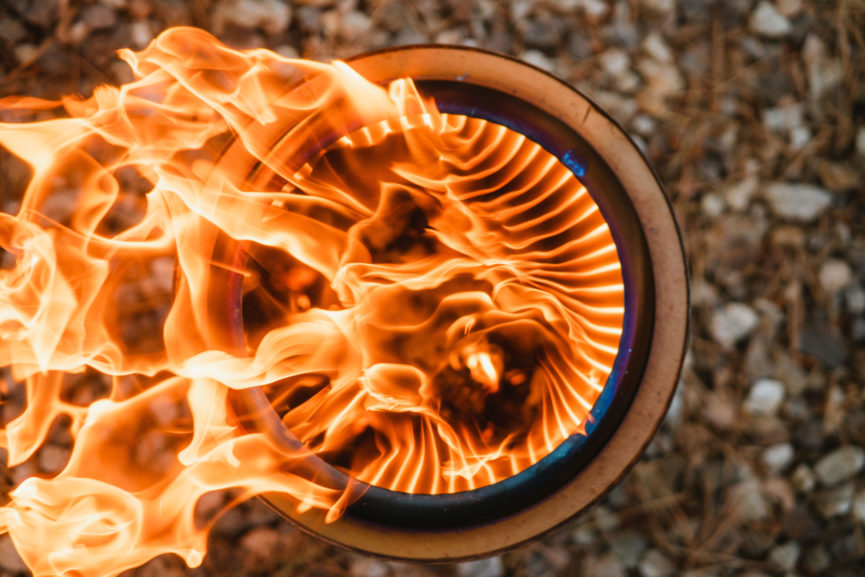
Optimize Airflow
It’s true that Solo Stove’s Signature 360° Airflow is the bread and butter of smokeless fires– but there are really only a couple of things you need to do to kick the smokeless power into gear.

First: get that ash out of the way. Make sure you’re emptying your ash pan every 2-3 burns, or more. If there is ash in the way, the air cannot make its 360° rounds– literally. Ash isn’t good for airflow, but it’s great for other things! Check out 5 Uses for Wood Ash here.
Second: FLIP THAT FLAME RING. Next time you see someone’s picture on Instagram with an upside-down flame ring, don’t be shy. Tell them to #FlipThatFlameRing so they can get the best fire possible. Your fire pit’s flame ring points hot air towards the fire, which makes burning off excess smoke possible. It is also designed to channel flames inward and upward, and away from your legs. It is designed to be used at all times, in conjunction with all of our other fire pit accessories. And don’t forget to keep your logs below the secondary burn holes and flame ring! If you skipped ahead, read the previous section for more info.
Stay Consistent
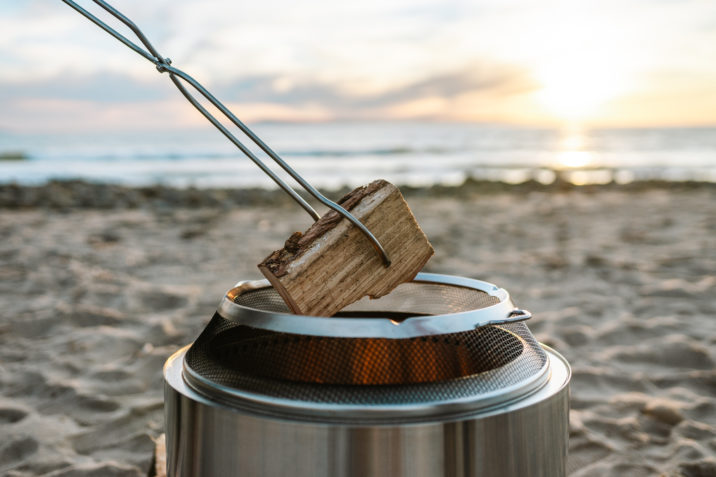
Like all successful ventures, consistency is key. After a while, after your fire has been burning so hot and efficiently, your flame will need some more fuel. Keep the heat up, and keep the fuel moving. A smokeless fire requires an ultra-hot environment to thrive in, so keep adding logs as necessary, and always make sure they’re sitting under the secondary burn holes.
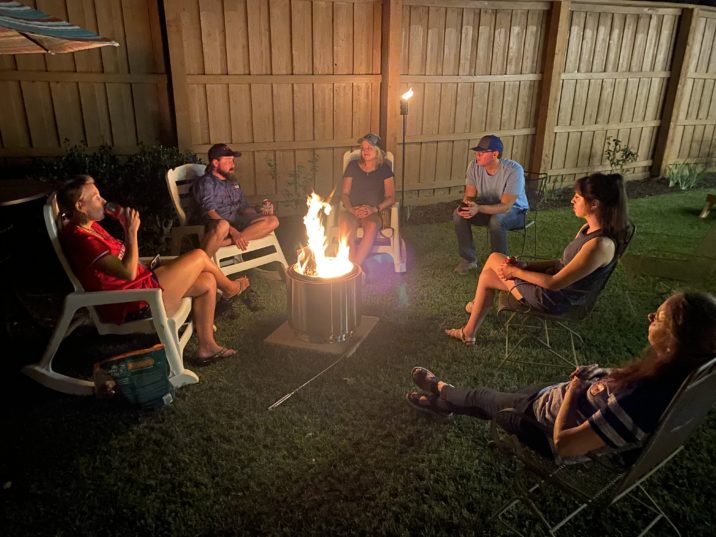
Once you master the art of the smokeless flame, it’s super easy and incredibly satisfying to sit around such a mesmerizing feat of nature. We hope you enjoy your fire pit for years to come!