Solo Stove Pi aims to personalize the pizza experience in all ways, namely, giving you the power to choose your fuel source. A dual-fuel marvel, use Pi with your choice of wood or gas. Read on to learn which fuel source is right for you, and how to light Pi in a few easy steps.
Lighting With The Gas Burner

Pi’s gas burner makes your experience simple: all you have to do is turn a knob. Use the gas burner when your favorite wood is out of season, or to create a low-fume environment for your pizza to bake in. Following the example of most modern pizza kitchens, Pi’s gas burner is the perfect choice for those who like a laid-back approach.
Gas Burner How-To, Step-By-Step:
- Starting with a Pi that’s cool to the touch, remove the rear door, fuel grate, and ash pan.
- Find two thumb screws situated in their storage location just below Pi’s gas connection and remove them.
- Align the gas burner with Pi’s rear opening and secure it with the two aforementioned screws.
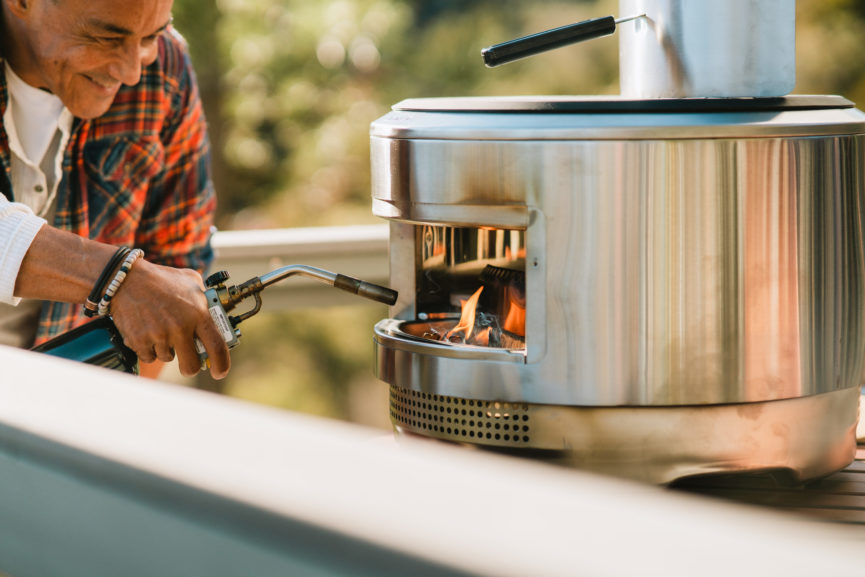
- Attach your propane tank to the hose, and turn the valve to release the gas.
- Spray the attachment with soapy water to make sure there are no leaks and the connection is secure
- To get the gas burner fired up, turn the knob counterclockwise until you hear a click. Check the front opening to make sure there is a visible flame.
- If it did not ignite the first time, do not leave the knob in the on position for more than five seconds. Turn it back to the off position, wait a minute, and try again.
- After Pi preheats to your desired temperature, use the knob to control temperature as you bake.
- Bake to your heart’s content! Click here for more ideas about how to use your Solo Stove Pi.
Lighting With Wood

Few experiences compare to the thrill of wood-firing your own pizza. For those that enjoy experimenting with different wood-fired flavors, the wood-burning assembly unlocks a variety of flavor possibilities to explore. Made possible by three simple components, the ash pan, fuel grate, and rear door, wood-firing is achievable even for novice pizza chefs, especially those aiming to master a Neapolitan recipe. Pi’s rear opening is wide enough to access its fuel grate safely while in use. Thanks to its demi-dome structure, Pi uses heat as efficiently as possible so you won’t have to worry about running out of wood mid-bake– plan on being able to bake even longer than you’d expect to while wood-firing your pizzas. See the step-by-step guide for lighting up your wood-burning pizza oven below:
Wood-Fired How-To, Step-By-Step:
- Cut your selected wood to size. We recommend pieces of hardwood that are 1 inch in width, and 5 inches in length.
- After separating Pi’s ash pan and fuel grate, place a couple of Starters into the ash pan, and a few pieces of wood into the fuel grate.
- Place the ash pan into Pi, and light your Starters.
- Place the fuel grate back into the ash pan so the flames can catch the wood.
- Attach Pi’s rear door, and wait until Pi reaches 650° F to begin baking.
- Add more wood into your fuel grate every five or so minutes.
- If your fire is overly smoky, your fire is not hot enough. Try adding more wood into your fuel grate.
- Bake to your heart’s content! Click here for more ideas about how to use your Solo Stove Pi.