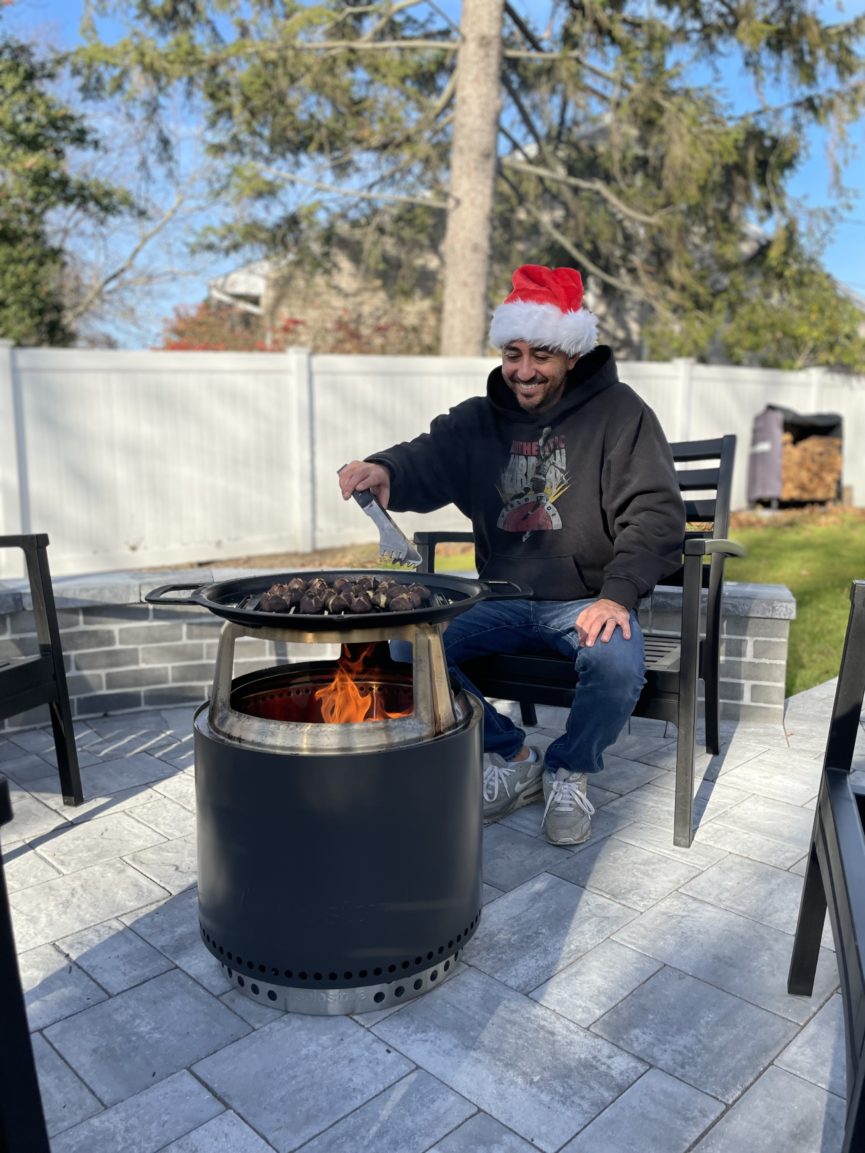
Photos courtesy of Jeff Kastin, Solo Stove Content Creator
It’s that time of year again– and we’re ready to pop. Chestnuts, that is. Ready to use your Fire Pit Cooking System to its holliest, jolliest potential? We thought so. Strap in, we’re about to get roasting. Here’s a theme song for some ambiance while you read:
What You’ll Need:
Solo Stove Fire Pit Cooking System
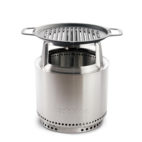
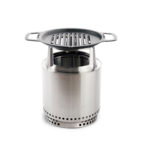
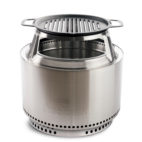
Find this on solostove.com! Our classic stainless steel fire pits are now paired with the power of cast iron to bring flame-kissed recipes of all kinds to your backyard adventures. This outdoor cooking marvel is available in all three fire pit sizes: Ranger, Bonfire, and Yukon! Check out our Gloves or Silicon Mat + Grips for the safest experience possible.
Fresh Chestnuts
You can find these in the produce section of your local grocery store.
Paring Knife
You’ll need to score your chestnuts before roasting. This is a vital part of the process to prevent a chestnut-splosion.
Let’s Get Roasting:
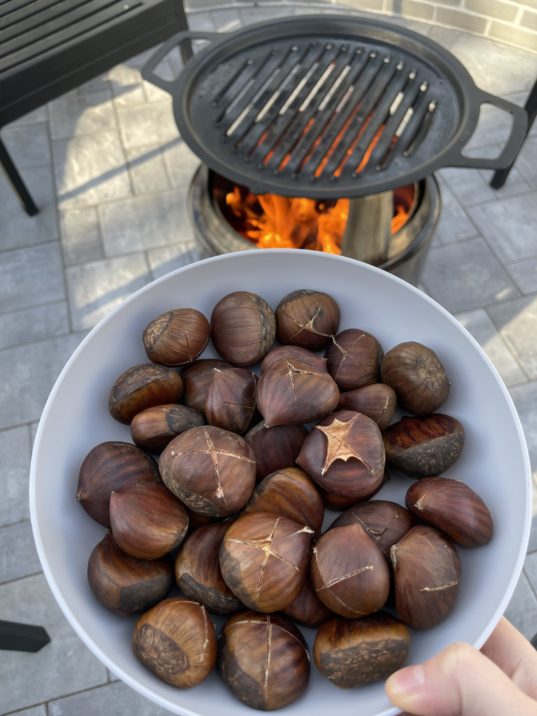
Step One: Keep Score
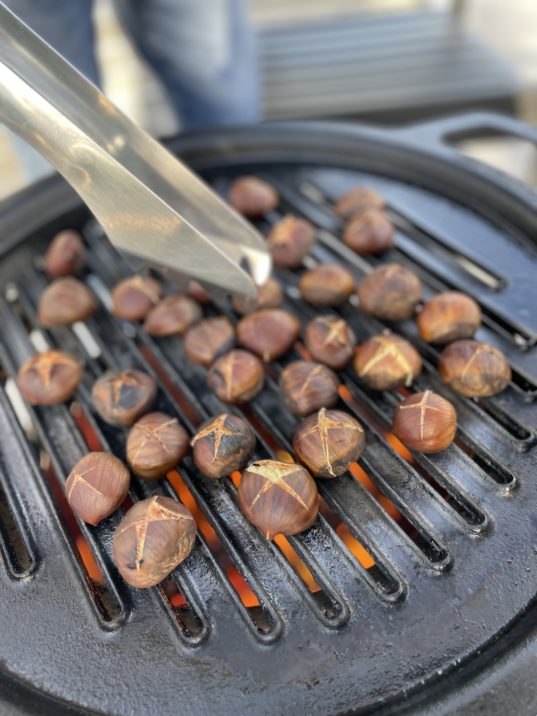
Using your paring knife, cut cross-sections on the flat side of each chestnut.
Step Two: Start Your Engines
It’s time to get your fire pit lit. If this is your first time using the Fire Pit Cooking System, make sure to review the safety measures you should take before that first spark flies. Once your embers are glowing and ready to cook over, place your Hub and Cast Iron Cooktop on top.
Step Three: Start Singing
Immediately after adding your Cast Iron Cooktop, place your scored chestnuts evenly across its surface. Allow your cast iron to heat up with the chestnuts.
Step Four: Keep Singing
After about five minutes, stir your chestnuts around the surface. Stir occasionally until they’ve been cooking for ten to twelve minutes total.
Step Five: Stop Singing. The chestnuts are done.
Remove your roasted chestnuts from the fire. Once they’re cool enough to touch, remove the outer shell and give it a taste!